Categories
New Blog
Tags
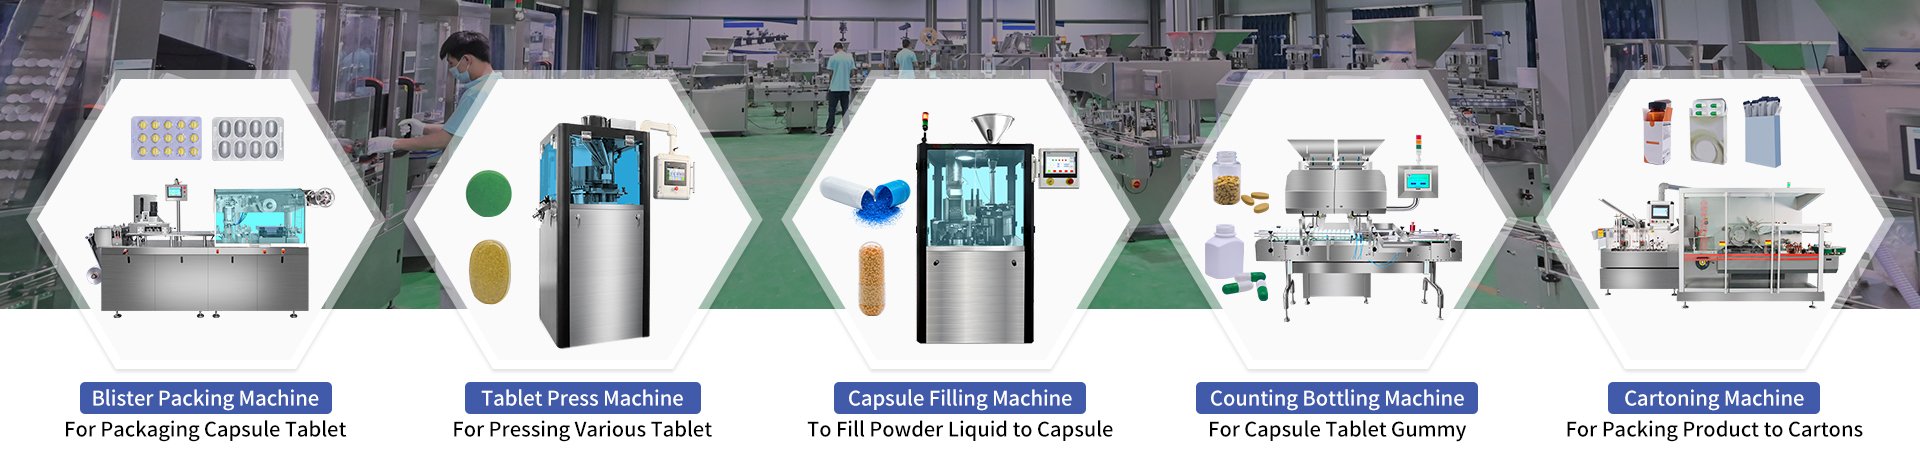
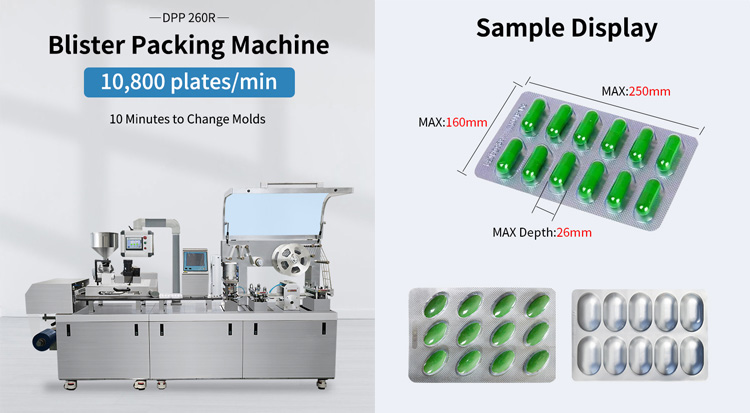
Blister packaging machines are indispensable in industries like pharmaceuticals, food, electronics, and consumer goods. These machines ensure products are securely sealed in protective packaging, maintaining freshness, sterility, and shelf appeal. However, like any industrial equipment, blister packaging machines require regular cleaning to operate efficiently, prevent contamination, and extend their lifespan. Neglecting proper cleaning can lead to residue buildup, mechanical failures, or even product recalls.
In this comprehensive guide, we’ll walk you through the step-by-step process of cleaning a blister packaging machine, share best practices for maintenance, and highlight common mistakes to avoid. Whether you’re a seasoned operator or new to blister packaging, this guide will help you maintain your machine’s performance and compliance with industry standards.
Before diving into the cleaning process, let’s understand why regular maintenance is critical:
1. Prevent Contamination
Residual product, dust, or lubricants can contaminate packaging materials, posing risks in regulated industries like pharmaceuticals.
2. Ensure Consistent Sealing
Debris on heating elements or forming dies can compromise seal quality, leading to defective packages.
3. Reduce Downtime
A clean machine operates smoothly, minimizing unexpected breakdowns and production delays.
4. Comply with Regulations
Industries like food and pharma require adherence to strict hygiene protocols (e.g., FDA, GMP).
5. Extend Equipment Life
Regular cleaning reduces wear and tear, saving costs on repairs or replacements.
Before cleaning, follow these safety steps:
1. Turn Off and Unplug the Machine
Ensure the machine is powered down and disconnected from energy sources to avoid accidents.
2. Wear Protective Gear
Use gloves, goggles, and masks to protect against chemical exposure or sharp edges.
3. Refer to the Manufacturer’s Manual
Follow specific guidelines for your machine model to avoid damaging sensitive components.
4. Gather Cleaning Supplies
Prepare lint-free cloths, soft brushes, approved disinfectants, isopropyl alcohol, and non-abrasive cleaning tools.
1. Remove Residual Product and Packaging Materials
- Open the machine’s access panels and carefully remove any leftover blister packs, foils, or tablets.
- Use a vacuum or compressed air to eliminate loose debris from cavities, conveyors, and feed systems.
*Pro Tip:* Avoid using metal tools to scrape residues, as they can scratch surfaces. Opt for plastic scrapers instead.
2. Clean the Forming Dies and Sealing Plates
Forming dies (which shape the blister cavities) and sealing plates (which heat-seal the foil) are critical components. Residues here can cause uneven seals or defects.
- Cool Down the Machine: Allow heated parts to reach room temperature to avoid burns.
- Wipe with Solvent: Apply a manufacturer-approved solvent (e.g., isopropyl alcohol) to a cloth and gently clean the dies and plates.
- Inspect for Damage: Check for scratches or corrosion that could affect performance.
3. Degrease Moving Parts
Lubricants and grease are necessary for smooth operation but can accumulate dust over time.
- Apply a food-grade degreaser to chains, gears, and bearings.
- Use a soft brush to scrub hard-to-reach areas.
- Wipe away excess grease with a clean cloth.
4. Sanitize High-Risk Areas
In food or pharmaceutical settings, sanitization is non-negotiable.
- Spray a non-toxic disinfectant on surfaces that contact products, such as feed trays and conveyor belts.
- Let the solution sit for the recommended contact time (check the product label).
- Rinse with distilled water to prevent chemical residues.
5. Clean the Machine Exterior and Control Panel
Dust and fingerprints on the exterior can harbor bacteria and affect touchscreen functionality.
- Wipe down the machine’s body with a damp microfiber cloth.
- Use a screen-safe cleaner for the control panel.
- Avoid spraying liquids directly onto electrical components.
6. Reassemble and Perform a Test Run
- Reattach all removed components and secure access panels.
- Power on the machine and run a test cycle with empty packaging materials to ensure everything works smoothly.
- Daily Cleaning: Wipe down surfaces and remove debris after each shift.
- Weekly Deep Cleaning: Schedule thorough cleanings during downtime.
- Lubricate Sparingly: Over-lubrication attracts dirt; follow the manufacturer’s guidelines.
- Document Cleaning Logs: Track maintenance activities for audits and troubleshooting.
- Train Your Team: Ensure all operators understand cleaning protocols.
1. Using Harsh Chemicals
Abrasive cleaners can corrode machine parts. Stick to recommended solvents.
2. Ignoring Electrical Components
Moisture near wiring or sensors can cause short circuits.
3. Rushing the Process
Incomplete cleaning leaves hidden residues. Allocate sufficient time for each step.
4. Skipping Inspections
Use cleaning as an opportunity to spot worn-out parts needing replacement.
While routine cleaning can be done in-house, consider professional servicing if:
- The machine shows signs of corrosion or mechanical failure.
- You lack specialized tools for disassembly.
- Regulatory audits require certified deep cleaning.
A well-maintained blister packaging machine is key to efficient production, product integrity, and compliance. By following this guide, you’ll minimize downtime, reduce costs, and ensure your packaging line operates at peak performance.

Email : manager@richpacking.cn
Building D, No. 226, Beishan Qiaotou Street, Haizhu District, Guangzhou City, Guangdong Province, China


 IPv6 network supported


 Home
Home Products